How to Read a Su Embroidery Piece: A Beginner's Guide
A five-minute routine for looking at a stitched silk panel: distance, light, transitions, edges, reverse and frame. No technical background needed.
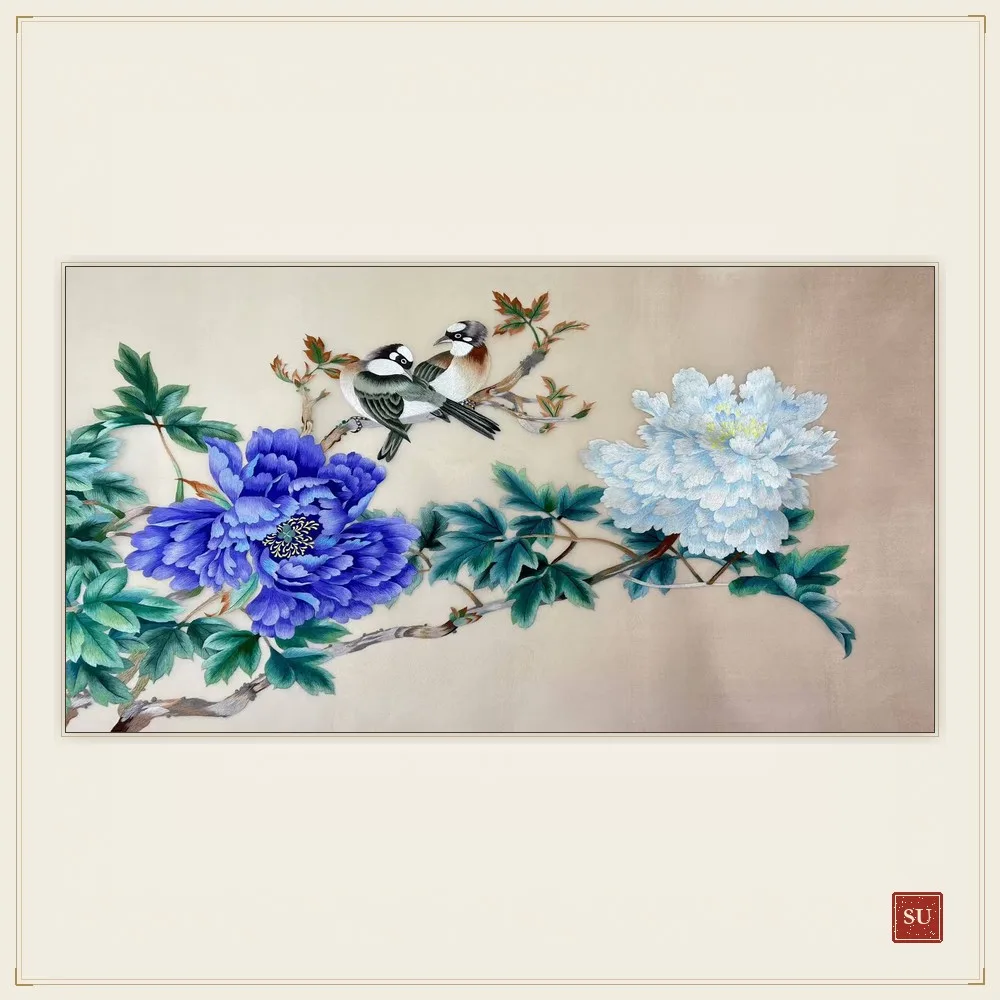
You do not have to know the names of stitches to judge an embroidered panel. You need a routine: a fixed order of looking that stops you being carried away by the subject, the frame or a flattering photograph. The one below takes about five minutes and works in a gallery, a studio or in front of a set of online photographs.
It is arranged from far to near. Most people do the opposite — they go straight to a detail they like — and then find it hard to step back and see whether the whole thing holds together.
Step 1 — Look from the intended distance
Start where the object was meant to be seen: a metre or so for a wall panel, arm's length for a table screen, in the hand for a fan. At that distance, ask only whether the composition reads. Are the main forms clear? Is there a focal point? Does the empty silk do any work, or is every centimetre filled because the maker was afraid of blank space?
A technically brilliant panel with a muddled composition is still a muddled picture. This first check is about design, and it is the one most often skipped when a listing shows only macro shots.
Step 2 — Change the light
Now tilt the piece, or walk a few steps to the side. Silk filament is directional: areas stitched in different alignments will brighten and dim as the angle changes. You should see petals, feathers or water separate from one another without any drawn line between them.
If the surface looks identical from every angle, be cautious. That flatness is what a printed image or a uniform machine fill looks like. Ask for a raking-light photograph if you are buying remotely; it is the single most informative extra image a seller can provide.
Step 3 — Find one colour transition
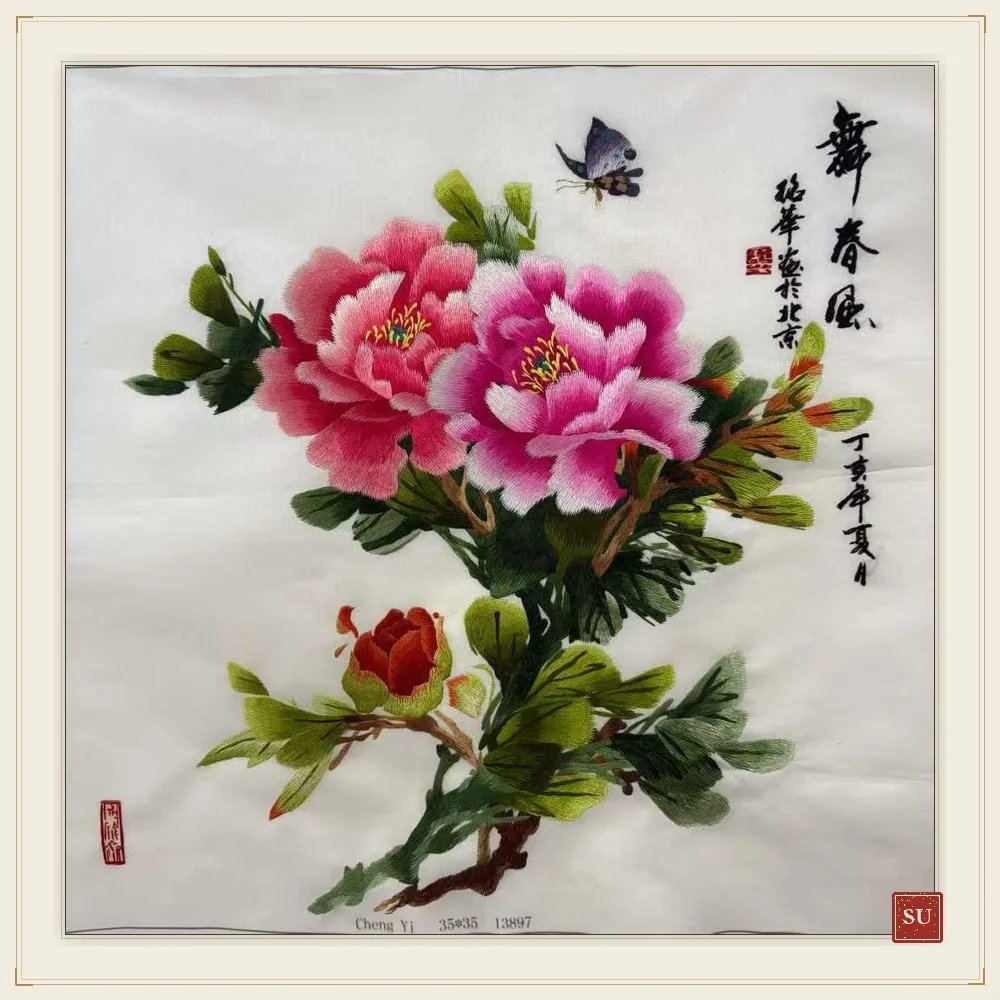
Move in and locate where one tone becomes another: the base of a petal, the shading under a leaf, the shift from a bird's breast to its wing. Look for steps. A hard boundary means the maker used one thread weight and simply changed colour; a gradual dissolve means the tones were layered, often with finer and finer split thread.
This is the most reliable single indicator of time and skill in the whole piece. It is also the hardest to fake convincingly, which is why it deserves its own step rather than being lumped in with general detail.
Step 4 — Check the smallest details
Find the eye of a bird, the stamen of a flower, the tip of a whisker or a single scale. These are worked last, with the thinnest thread and the smallest needle. Are they crisp, or do they blur into the surrounding stitches? Is there an accidental lump where a thread was started or finished?
Small details are where a workshop's standards show. A piece can be impressive at a distance and still be let down here — and because these marks often carry the expression of the subject, the difference is visible even to an untrained eye.
Step 5 — Turn it over, then look at the frame
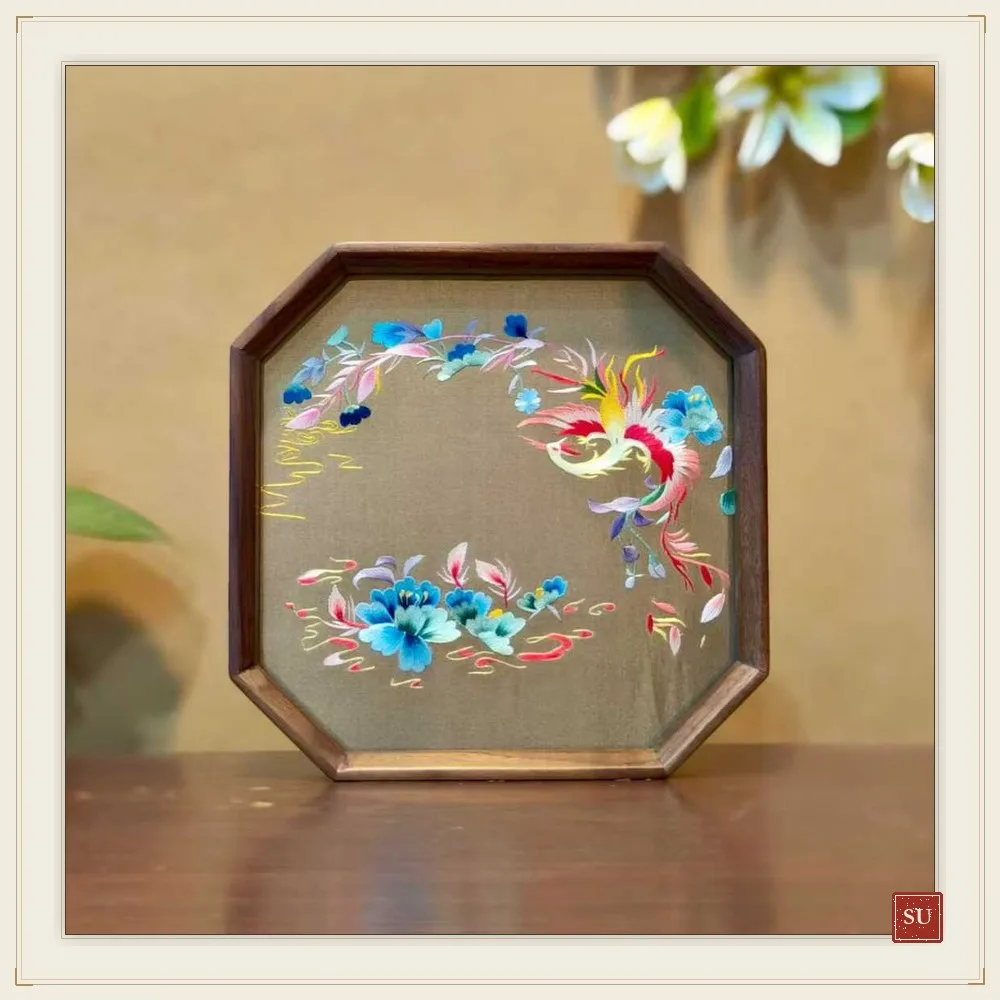
On an ordinary panel, the reverse tells you how the work was made: crossings, starts, tidy or untidy thread ends. It is not meant to be beautiful, but it should be honestly consistent with the claim of hand stitching. On a double-sided piece there should be no working reverse at all — that is the point of the technique.
Finally, look at the mount. The silk should be flat and evenly tensioned, with no ripples near the edges and no adhesive visible on the face. A good frame is protective rather than decorative: it holds the textile without crushing the stitches and can be opened later if the piece ever needs attention.
Applying the routine online
Ask a seller for four photographs: a full frontal view, a raking-light view, a macro shot of one colour transition, and the reverse. If the listing is a boutique or studio page, these are reasonable requests; a refusal is itself information. A video that slowly tilts the panel is even better than the raking-light still.
Then apply the same order. Resist the temptation to start with the prettiest close-up. Composition first, light second, transition third, detail fourth, construction last. It is a modest routine, but it will change what you notice — and it transfers directly to comparing two pieces side by side before you decide what to buy.
Key takeaways
- Judge composition at the intended viewing distance before you look at any detail.
- Tilt the panel: hand-stitched silk changes with the light; printed or uniform fills do not.
- One colour transition tells you more about workmanship than the overall subject.
- Request four photos online — frontal, raking light, macro transition, reverse.
See the technique in the collection
FAQ
What is the quickest way to spot machine embroidery?
Change the viewing angle. Hand-stitched silk shows directional sheen and subtle variation in thread thickness; machine fills tend to look flat and uniform from every angle. See our full hand-versus-machine comparison for the other checks.
Should the back of a hand-embroidered panel be neat?
It is a working surface, so crossings and thread ends are normal. What matters is consistency with the claim of hand work and that no lumps or knots show through to the front. Double-sided embroidery is the exception: both faces are finished.
Does an elaborate frame indicate a better piece?
No. The frame protects and presents the textile; an expensive moulding says nothing about stitch density. Check that the silk lies flat, is evenly tensioned and is not glued to the face.
Can I judge a piece from one photograph?
Not reliably. A single frontal shot hides stitch direction, transitions and construction. Ask for at least a raking-light view and a macro shot of a colour transition.