


How to Read the Back of a Hand-Stitched Panel
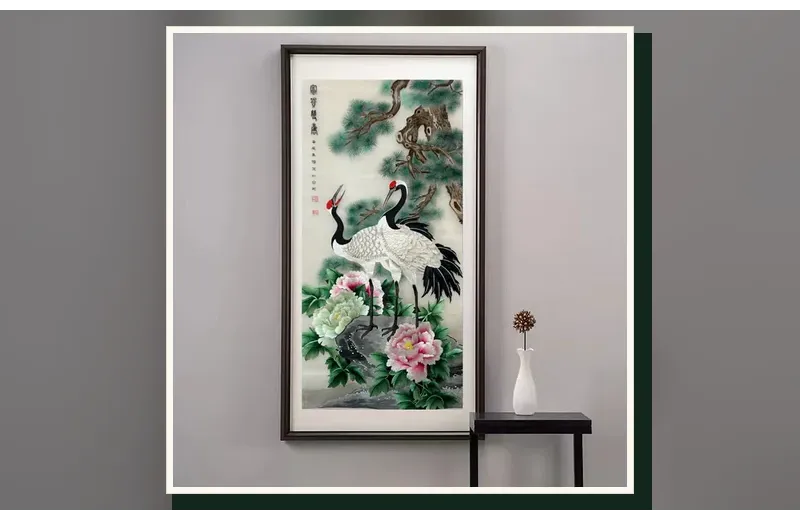
Sellers photograph the front. Collectors turn the piece over. The reverse is where the method of manufacture is written down, stitch by stitch.
What a hand-stitched reverse looks like
- Short thread travels. A shade change ends where the colour ends. You see small starts and finishes, not long runs crossing unrelated areas.
- Small, tidy ends. Tiny knots or clipped ends are normal — they are the physical consequence of starting and finishing a thread by hand.
- Direction follows the form. Even on the back, stitch groups change orientation with the shape of a petal or a cheek.
- No stabiliser. The ground itself is the structure; a hand piece does not need a glued-on mesh to hold it flat.
What machine embroidery looks like
Long, parallel runs of the same thread crossing large areas; perfectly uniform stitch length; a visible mesh, interfacing or paper-like stabiliser; and sometimes a faint grid or repeating pattern. A machine also tends to show dense "fill" stitching that makes the fabric noticeably stiffer than the front suggests.
What a print looks like
The reverse will show the same image inverted or a plain, unworked fabric with no thread structure at all. Hold it near a window and tilt: a print does not change with stitch direction, because there are no stitches. This is the quickest test of all.
What the reverse does not tell you
A messy back does not automatically mean bad work: some techniques naturally leave more ends, and double-sided work is an entire discipline of concealment. What matters is consistency with the claim being made. Ask what technique was used, then check whether the back supports it.
Make it a habit
When buying online, request a clear photograph of the unframed reverse before the piece is mounted, plus a progress photograph from the frame. Reputable makers are used to this request. Once a panel is framed and glazed, the evidence is hidden — so ask early.
See also seven ways to tell hand from machine and certificates and provenance.